1. Log in to Microsoft Entra admin center and click on Groups > All Groups
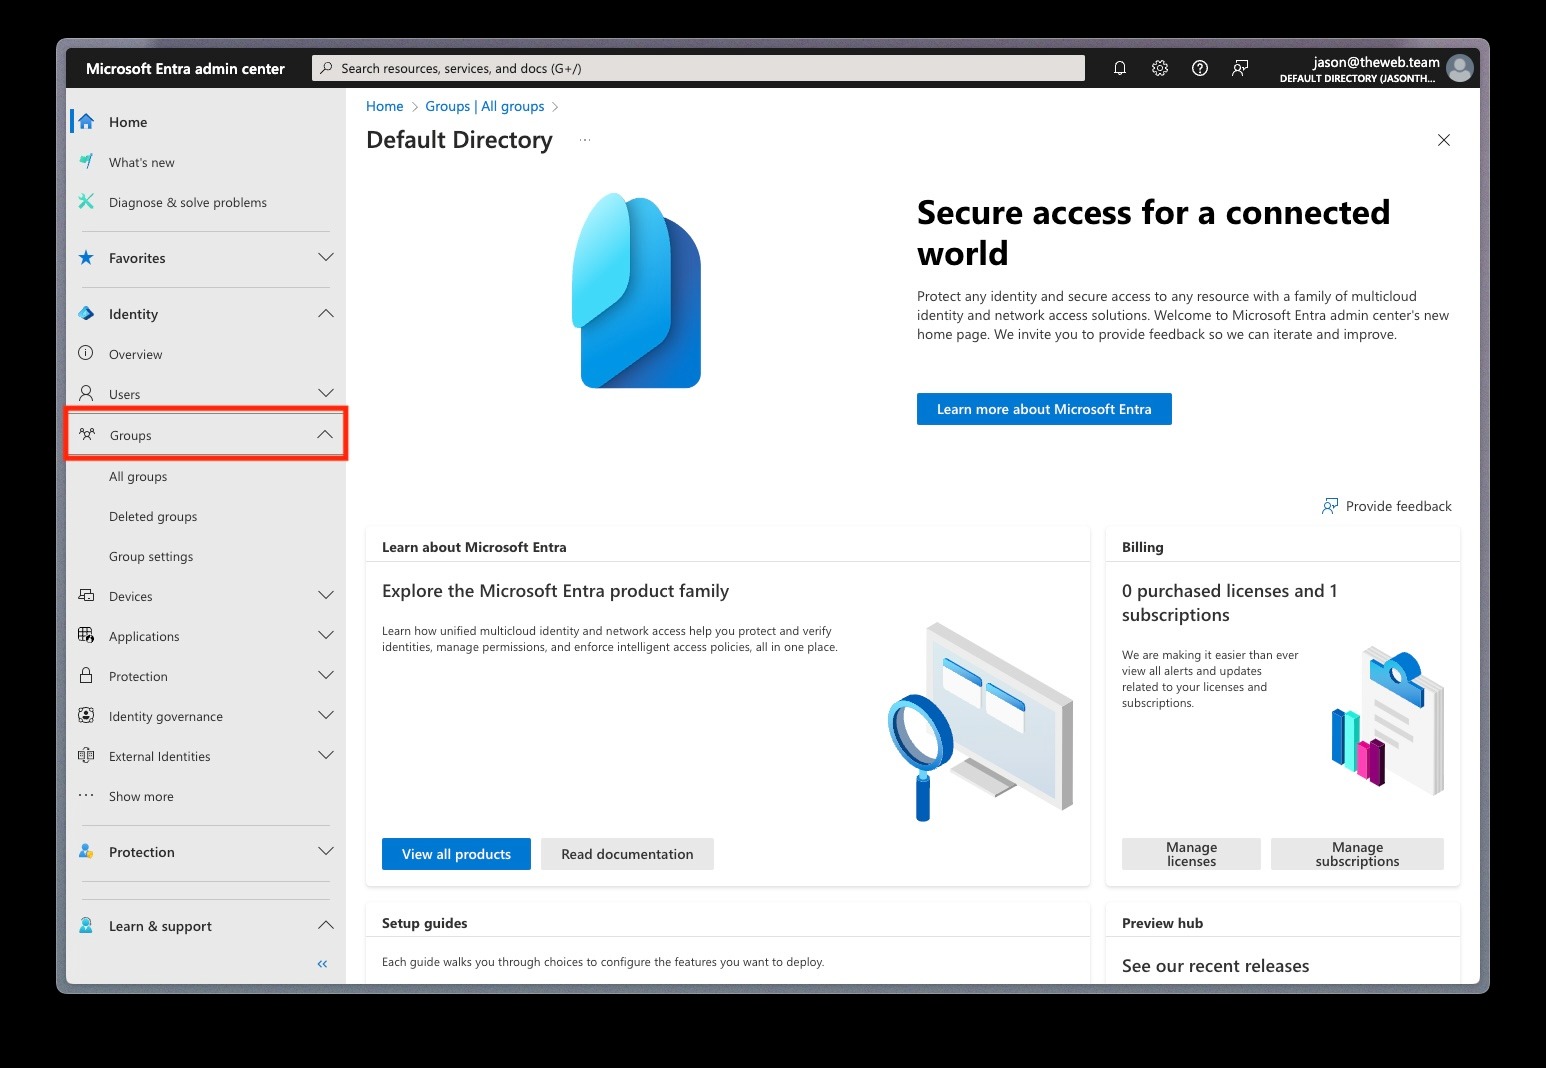
2. Create a new Group
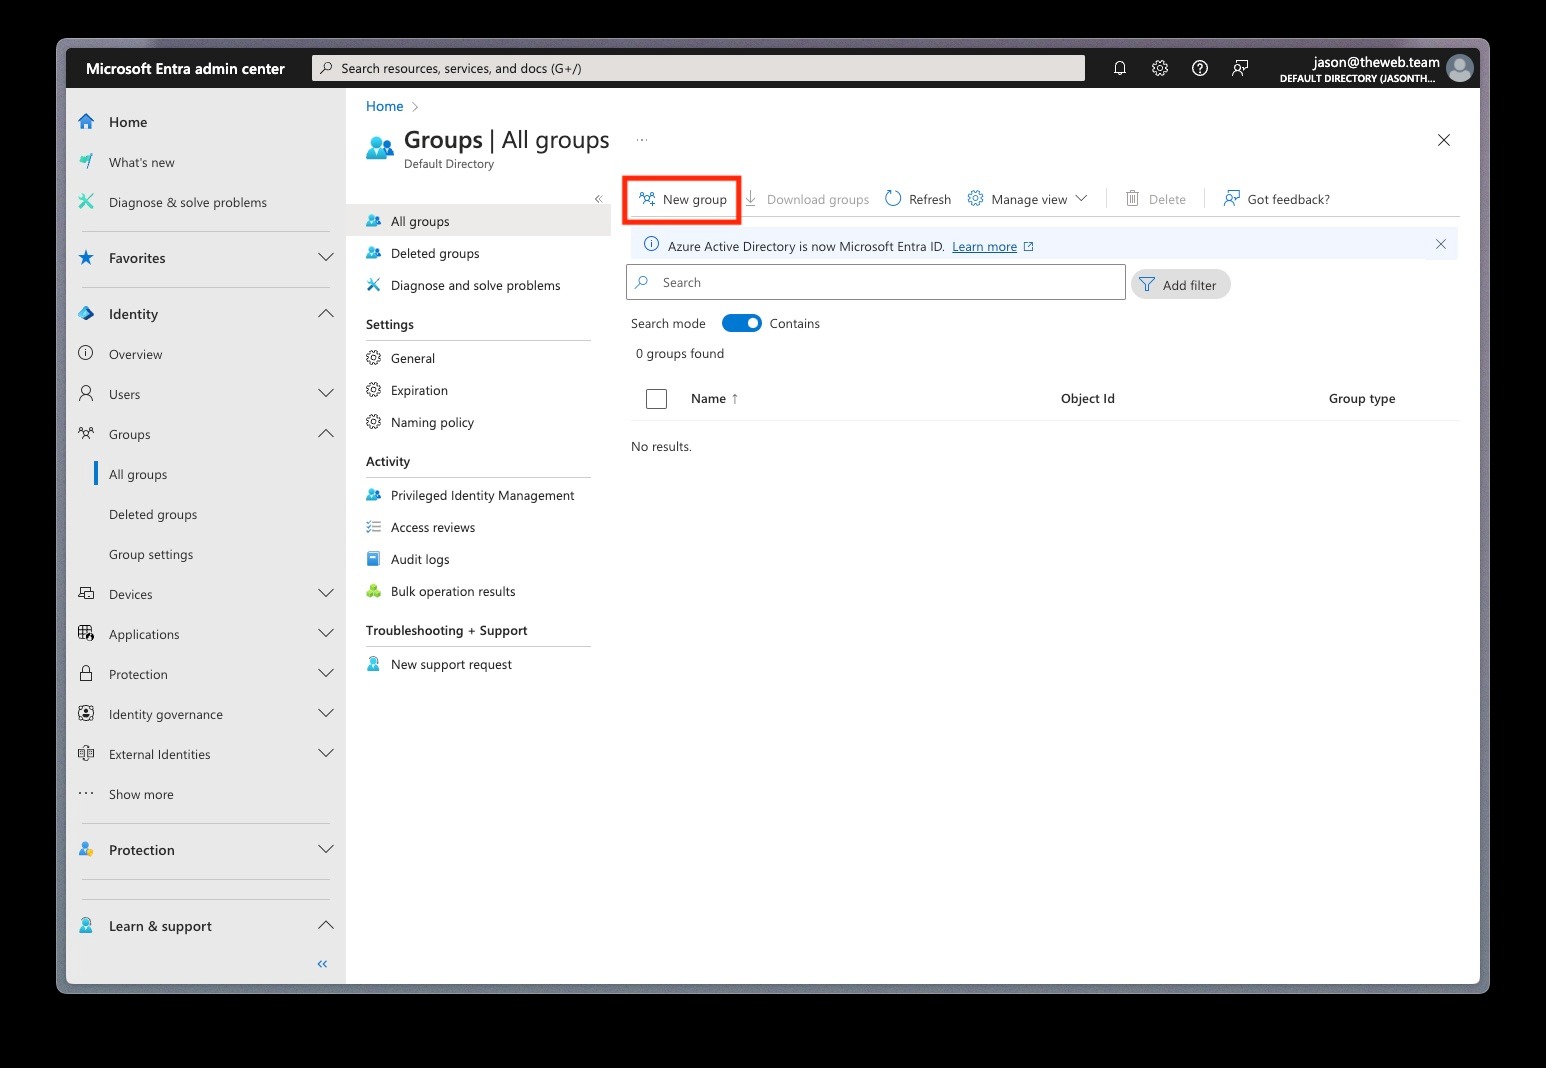
3. Choose “Security” for group type, and set the Group name to “Trestle Users” and give the group a description

4. Add members to your group by clicking No members selected and then selecting some users

5. Click Create

6. We are going to create the enterprise application that represents the connection to Trestle. In the side menu, navigate to Applications > Enterprise applications
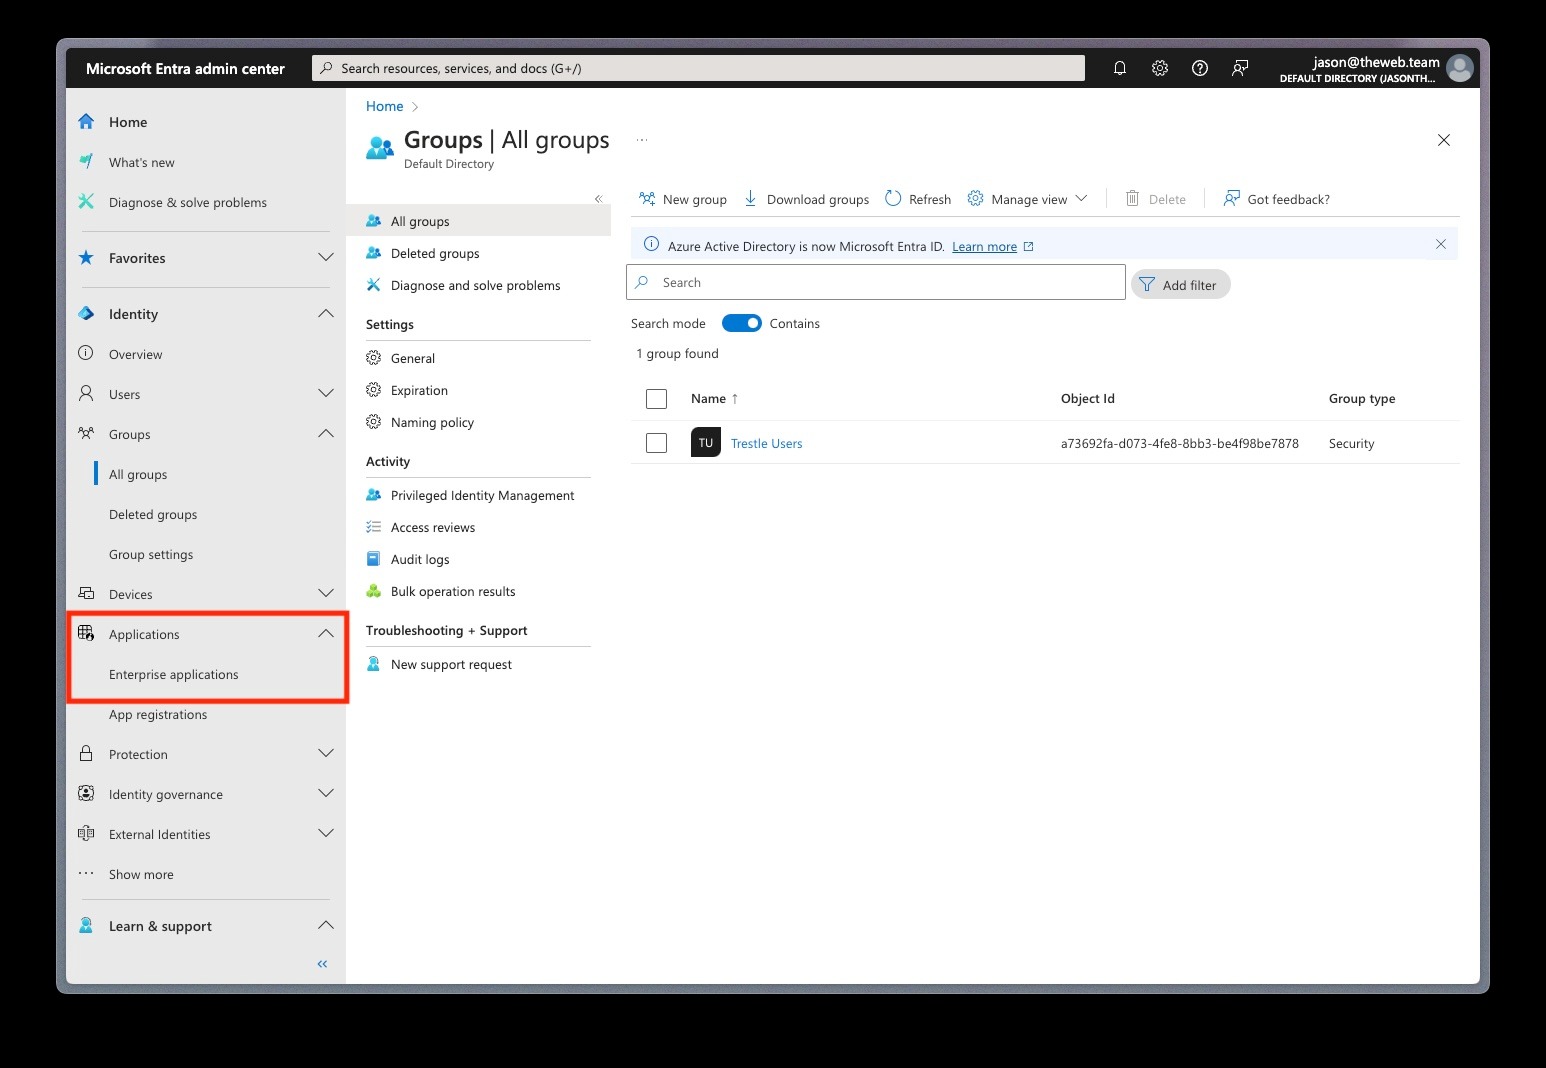
7. Click New Application

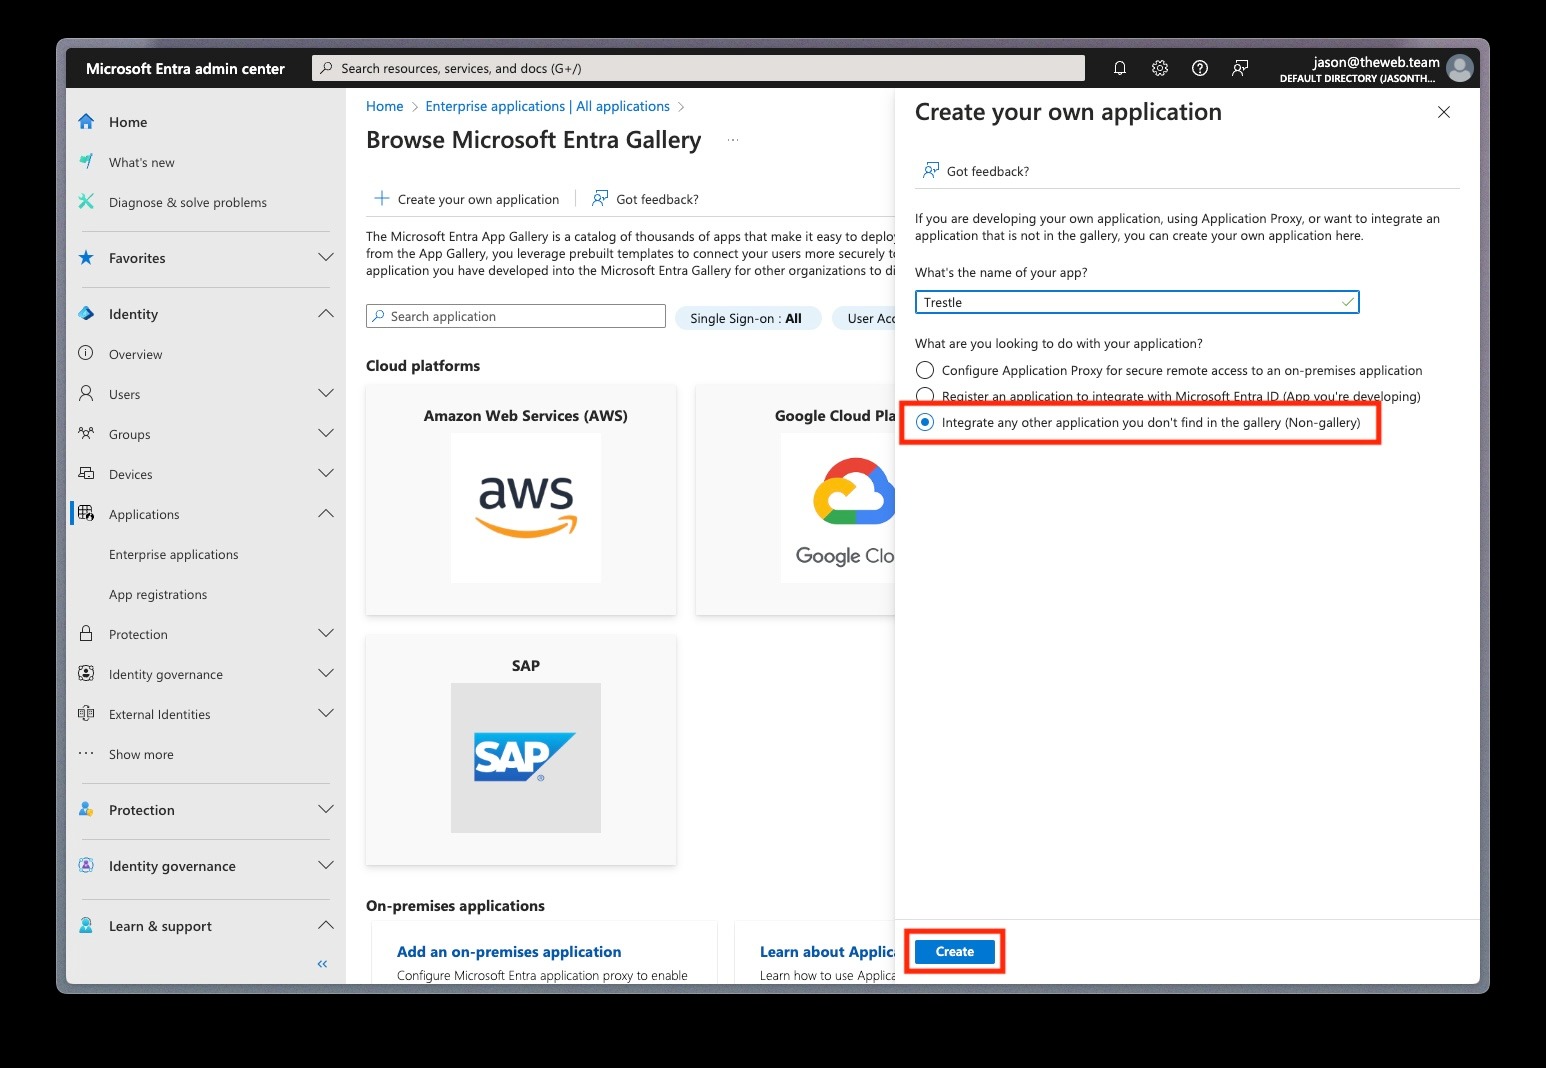
8. Click Create your own application
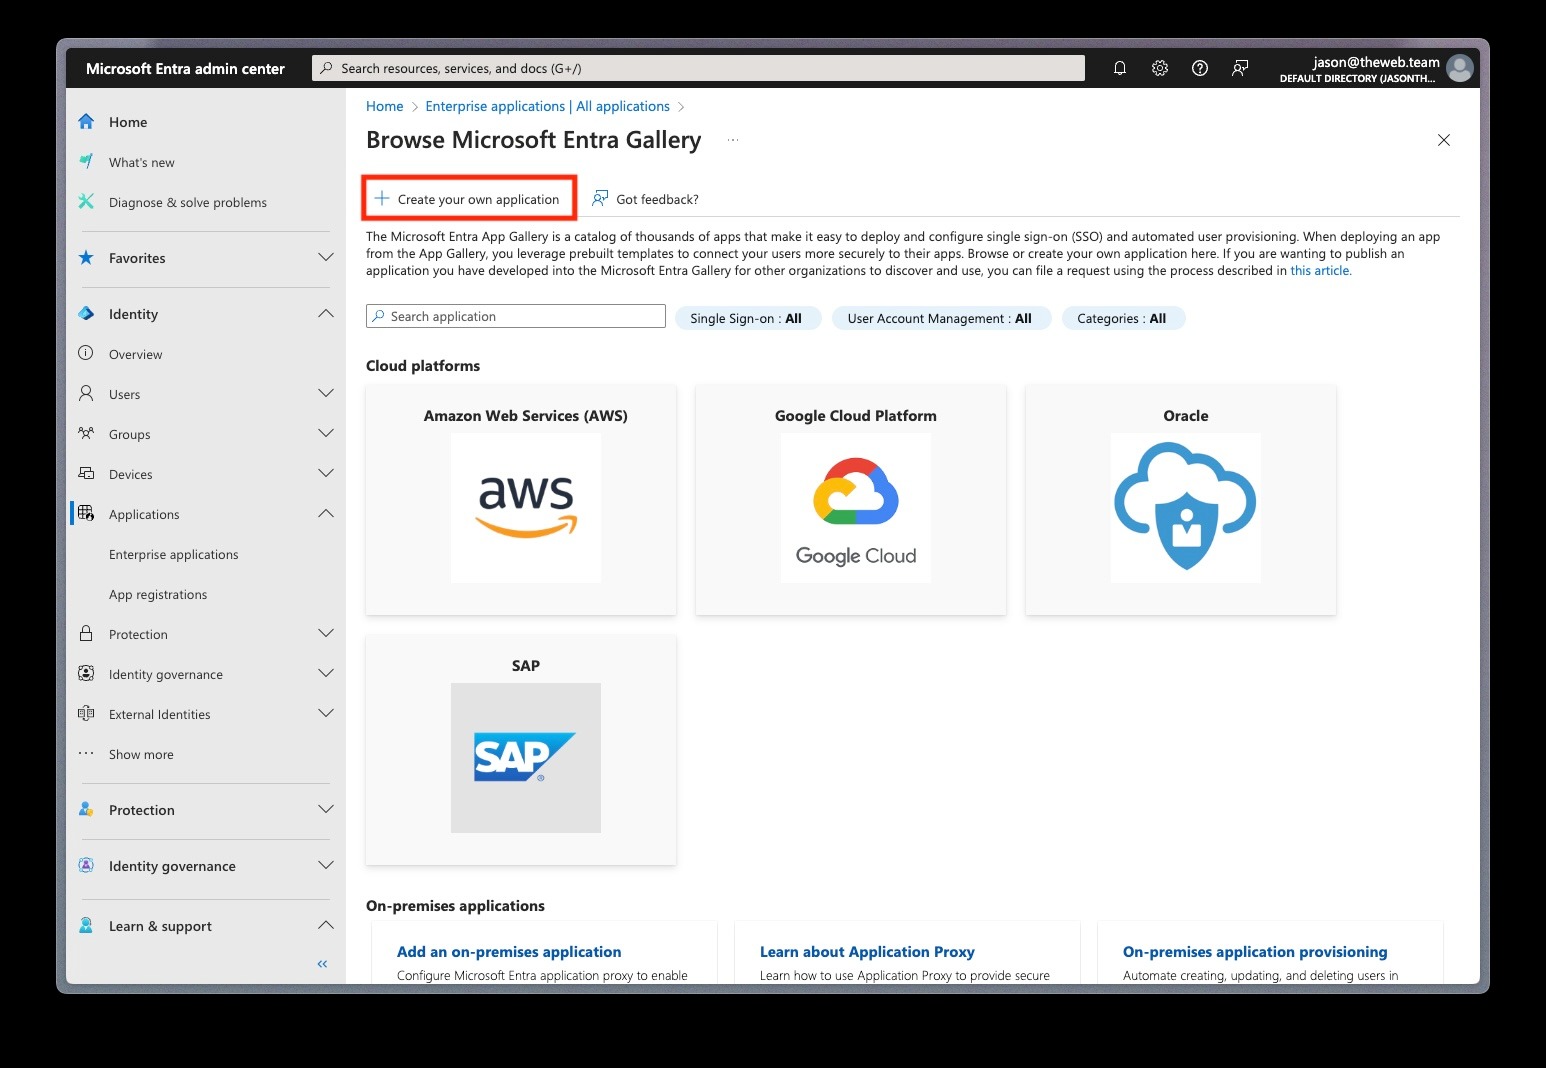
9. Enter “Trestle” for What is the name of your app? Then select Integrate any other application you don’t find in the gallery (Non-gallery). Click Create to finish.
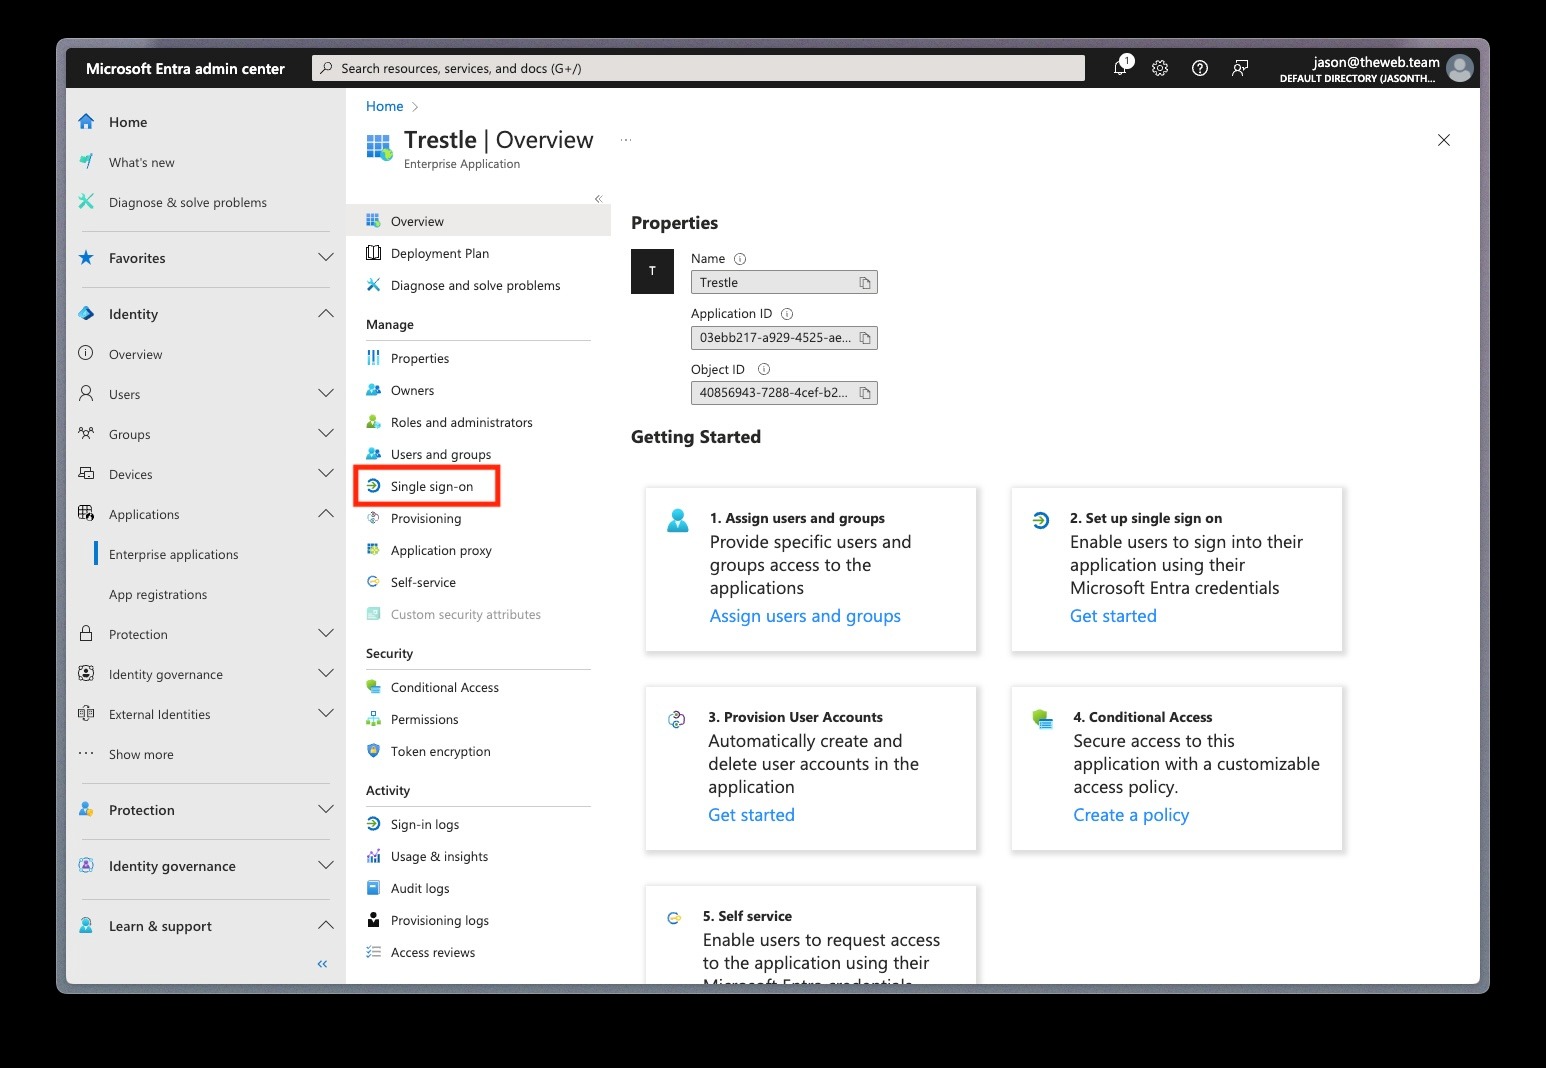
10. Click on Single sign-on in the secondary side menu
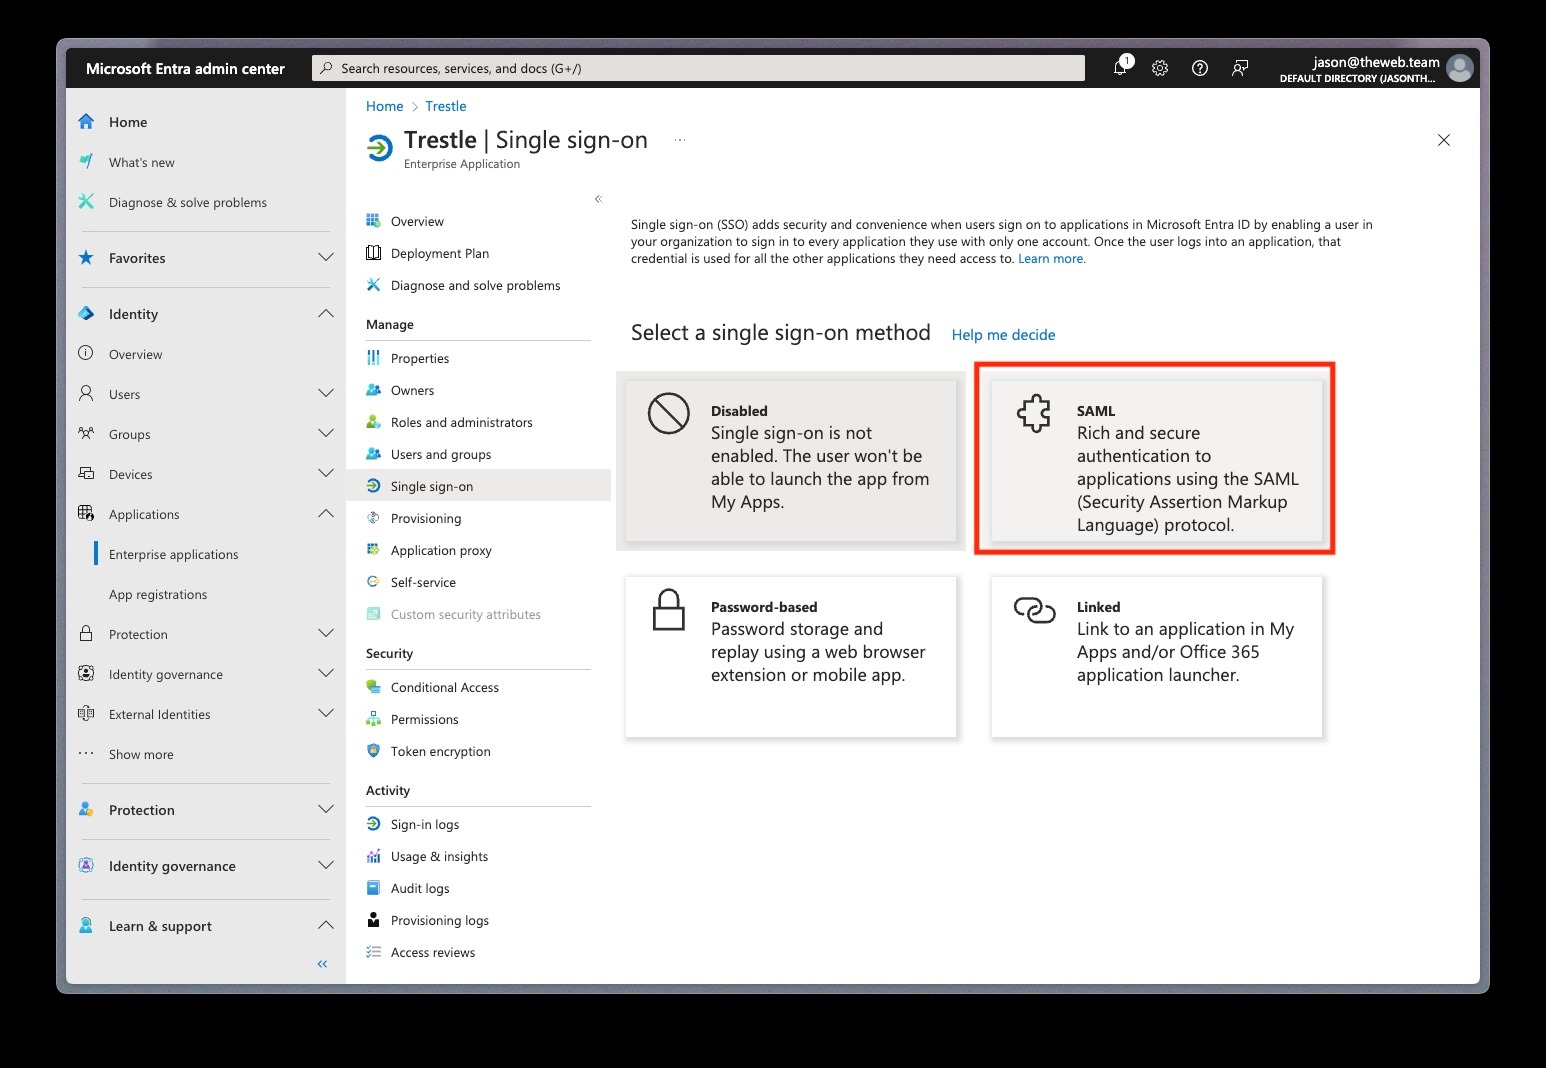
11. Click on SAML
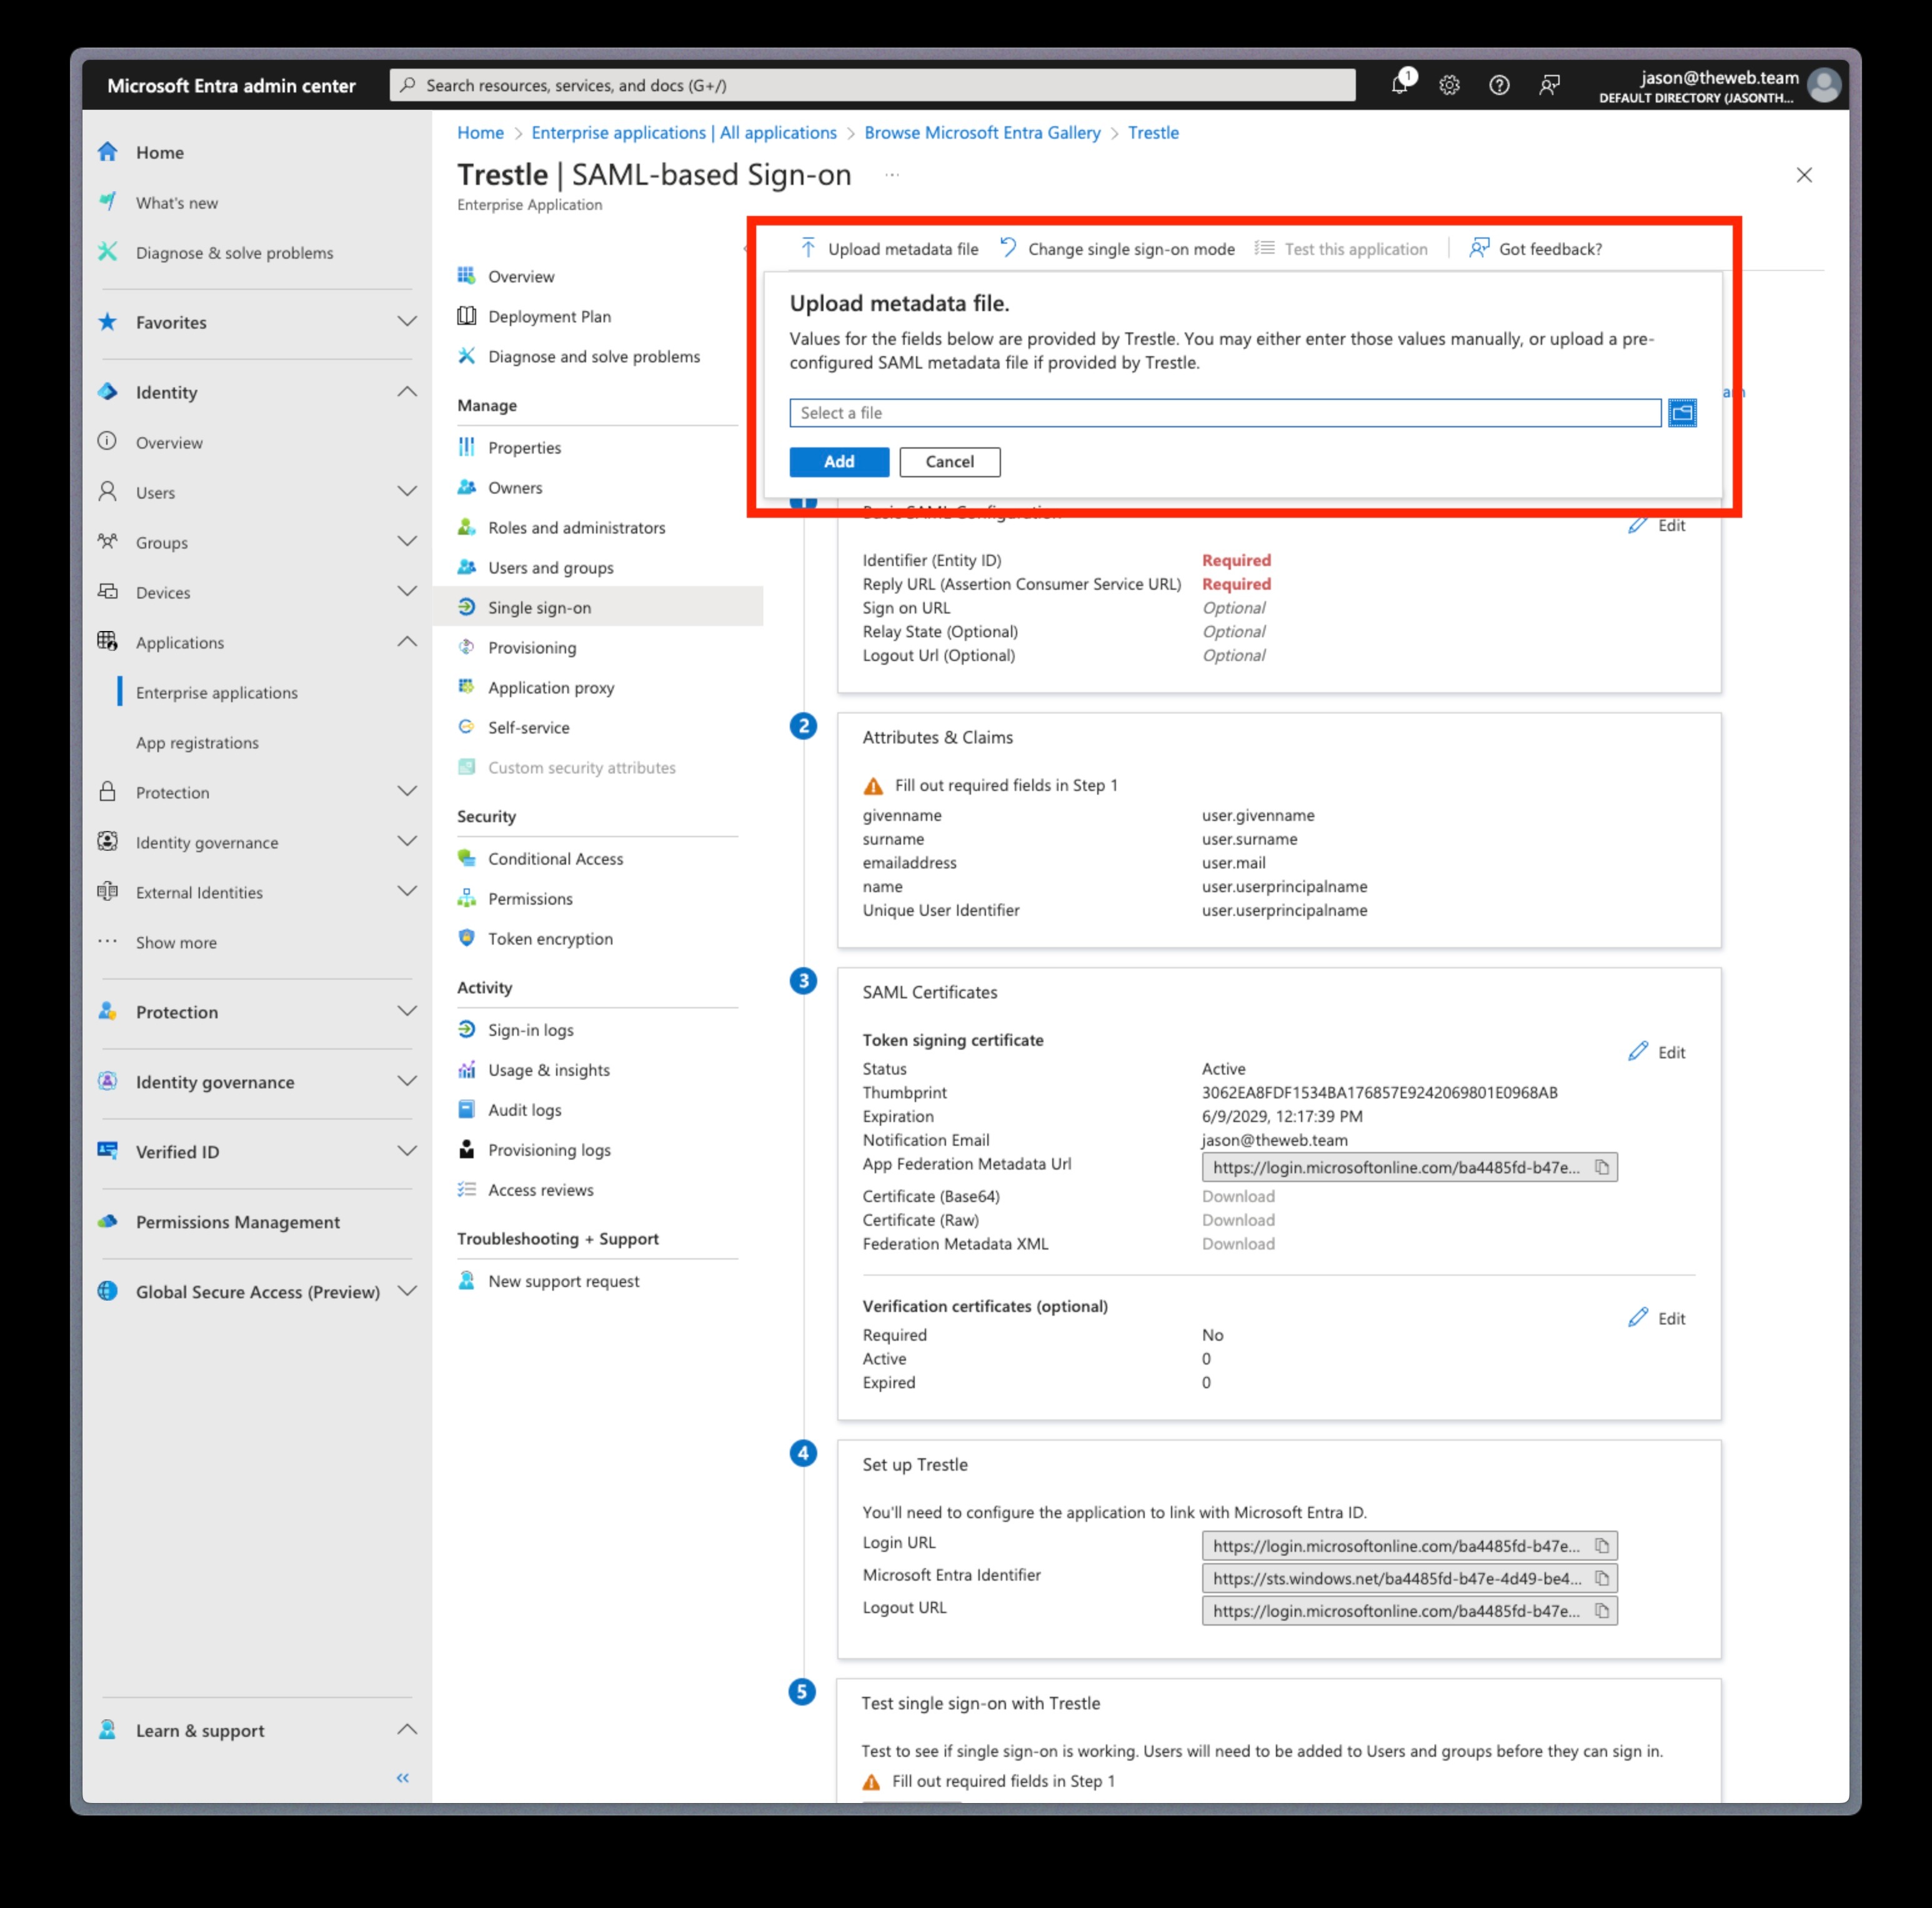
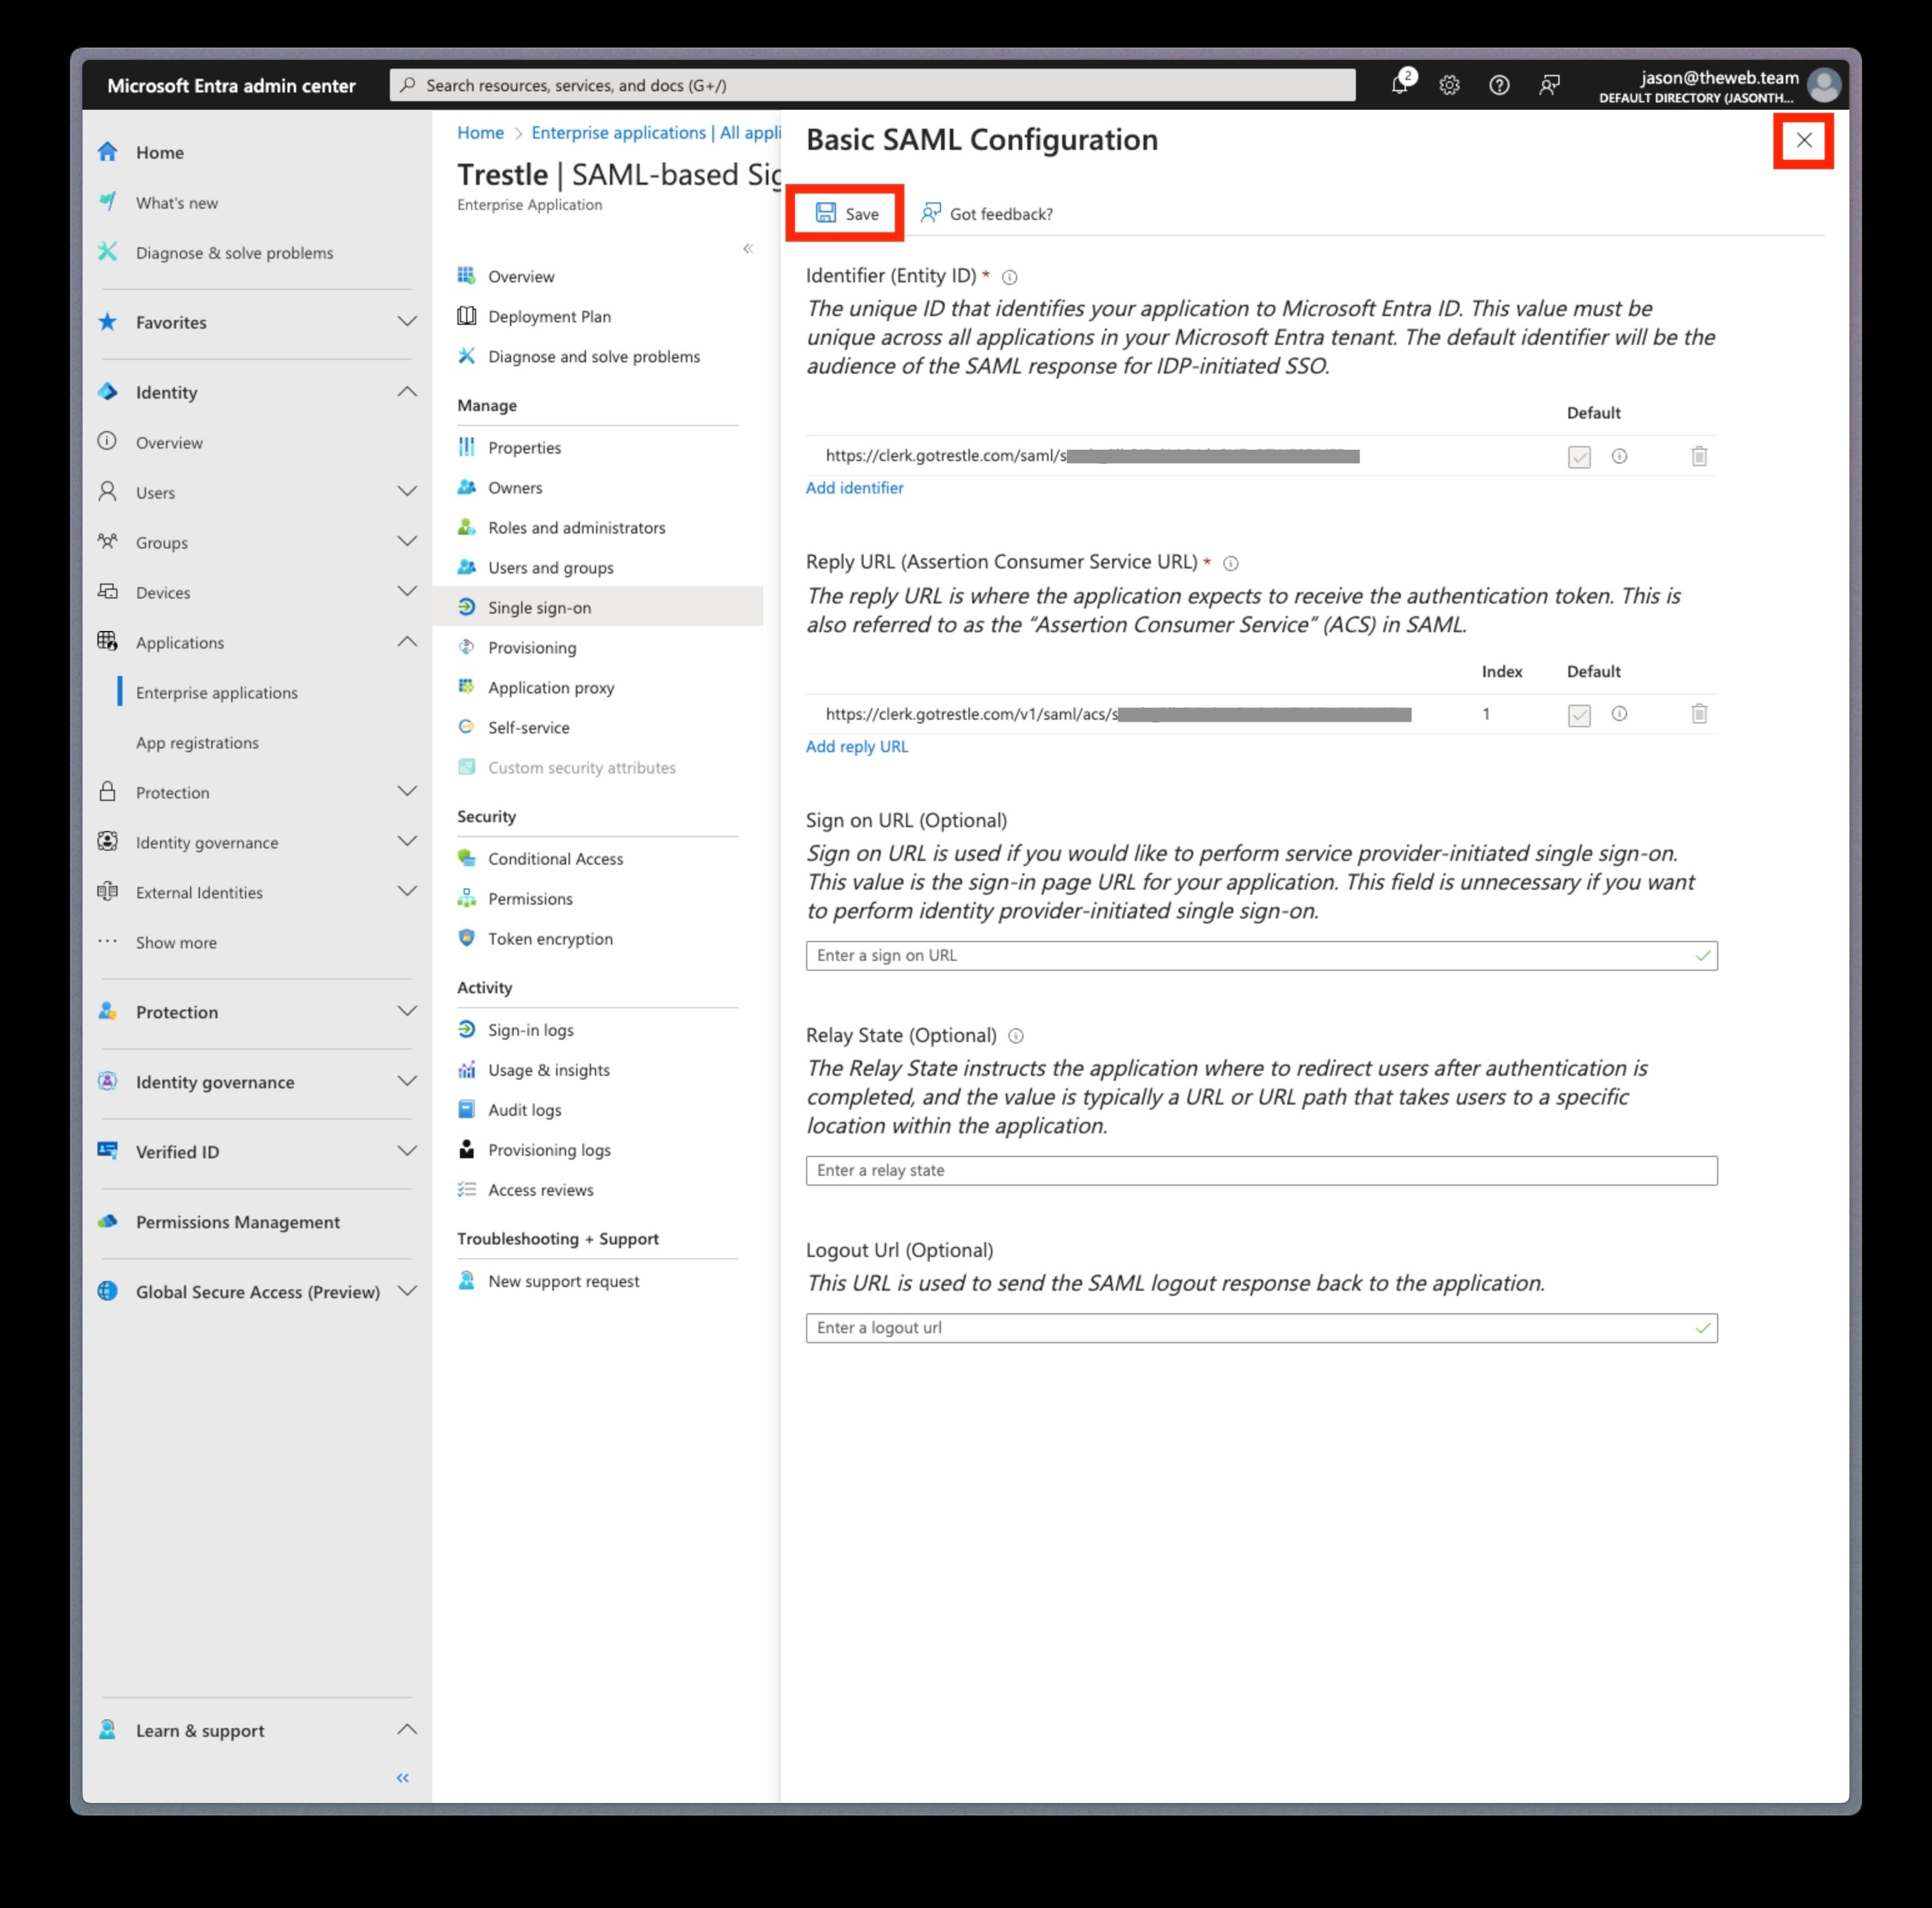
12. Click on Upload metadata file and click on the folder icon. Select the Trestle_SSO.xml file provided to you over email (if you do not have this file please contact jason@gotrestle.com) and click Add
13. Click Save and close the shelf
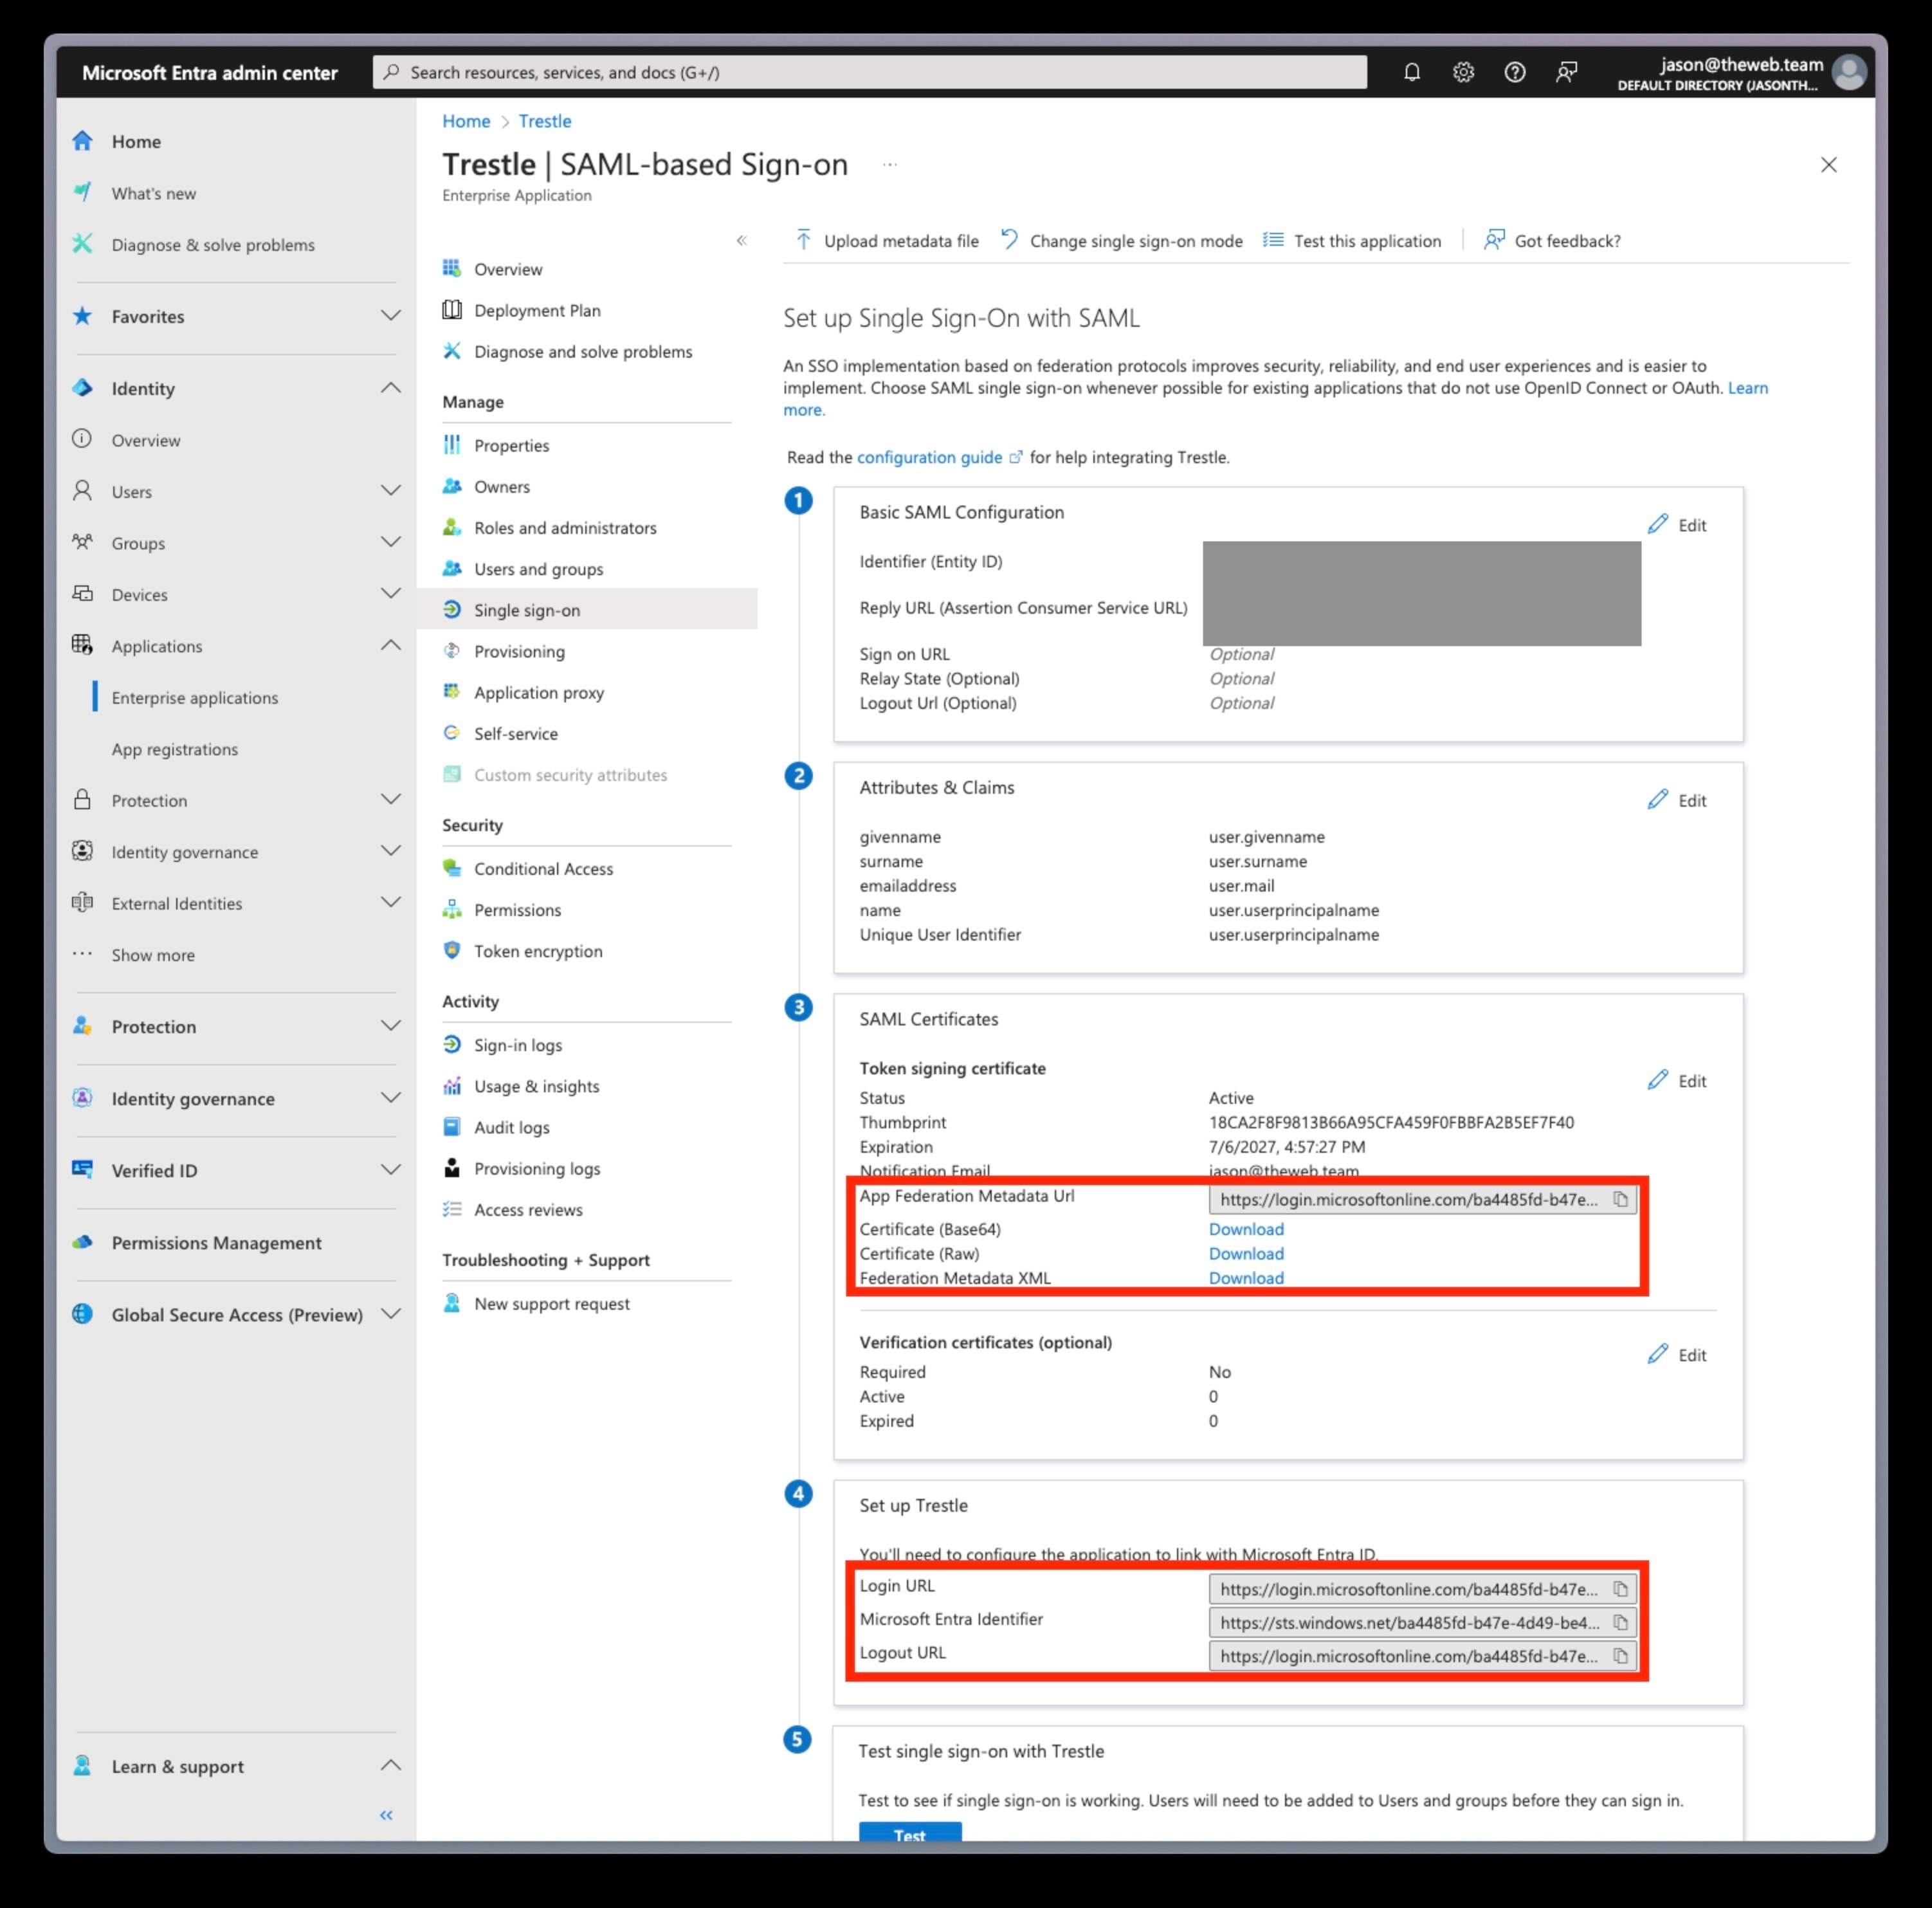
14. Attach the following in an email and send to jason@gotrestle.com:
- Download these files:
- Certificate (Base 64)
- Certificat (Raw)
- Federation Metadata XML
- Copy paste these values
- App Federation Metadata URL
- Login URL
- Microsoft Entra Identifier
- Logout URL
15. Click on Users and groups in the secondary side menu, then click Add user/group. Add the Trestle Users group that we created earlier

16. Once Trestle customer support has finished configuring your Trestle account with the provided information test the SSO login by going to https://app.gotrestle.com/sign-in and entering your company email address


